Saturday
Sep012007
Notes From Juliette Aristides' Workshop II
 Trio: Two Pears and a Fig
8 x 10 inches, oil on panel
The last day of Juliette's still life painting workshop was today. I am so excited to get back to my studio and practice all the new techniques I learned! More on this pear painting at the end of this post.
Here are many of the paintings and excercises I produced during the workshop:
 Analysis of a master work
 Black and white "poster study" of a master work
 Still life "poster study"
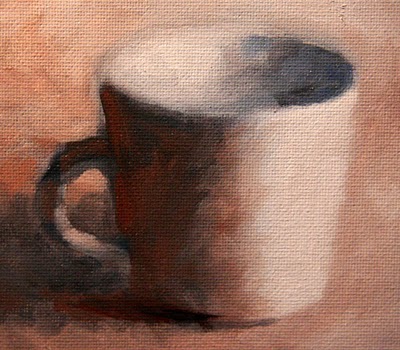
 Value study underpainting - Raw umber "wipe-out"
(brown paint is applied and then "wiped out" to show white canvas beneath)
 Warm/Cool study
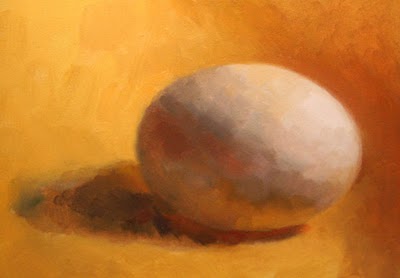 Egg Tiling, about 4 x 5 inches
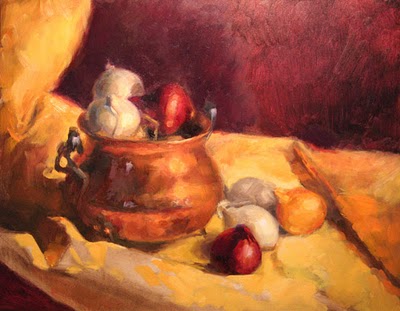 Copper Pot and Baby Onions
12 x 16, oil on panel
Trio: Two Pears and a Fig8 x 10 inches, oil on panel
I spent 2 and 1/2 days on this painting. The photograph does not show all the subtle "tiling" I sweated over, but you get the general idea. Juliette encouraged me to slow down (apparently my Daily Painting practice has made me a "speed painter") and look very carefully at the transitions. She had me pay close attention to midtones, the subtle gradations between the darkest darks and lightest lights across the surface of the pears. I feel like I learned so much within this one small painting, and I am so excited to get back to my studio and try more.
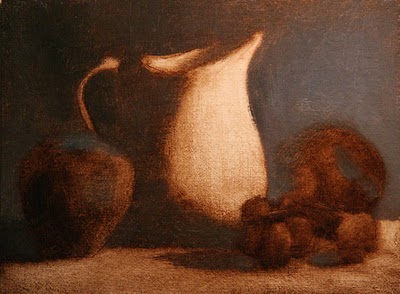 Pitcher and Fruit, 6 x 8 inches
Unfinished
I started this painting as a last quick project today, the last day, but did not have time to finish it. But I like the composition a lot, so maybe I'll set it up at home and finish it.
These are the steps Juliette taught for creating a painting:
1. Draw the composition with pencil on paper
2. Transfer drawing to the canvas
3. Ink the major lines with an indelible fine point sharpie pen
4. Paint the whole canvas with raw umber, and "wipe out" to create a tonal underpainting
5. Let the underpainting dry
6. With full color, paint the background, ground plane, shadow side of objects, light side of objects, in that order
7. Apply color with small "tiles"
8. Paint the "least interesting" areas of the painting first - save the best for last
More various notes and tips from Juliette:
- Practice mixing a color wheel with lots of beautiful, clean neutrals
- Lay a note down for a color and leave it - don't over-mix.
- Your palette tends to reflect the painting - mix the colors you will need
- To "pump up" the light in a painting, focus on super-extending the halftones - don't focus on the darkest darks and lightest lights.
- Look at Chardin
- Look at Fantin Latour
- A strong image will read well from a distance
- Economy - solve problems using less (ie, solve an edge using a shift in color, instead of a shift in value)
- Become rock-solid in a few simple things
- Lump shadow shapes and light shapes, not individual objects
- Try one bright color note in a mainly monochromatic painting
- Copy master works, analyze for lines, arcs, value, color distribution
Fletcher Palette
Picture Perfect Viewfinder
 View Printer Friendly Version
Reader Comments (4)
Dear Sadie,
my English didn't give me the possibility to understand everything that Juliette told us...
So I'm so happy that you've made a resume of our atelier!!!!!!!!!!!!!!
Thank you so so much!
You and your family are wonderfull people!!!!!!!!!!!!
Kiss and hugs
Hope to see you again!
Nina Larcheveque
hi sadie,
i have just dicovered your blog. i can really see the improvement you've made over the years. yor're very inspiring.
i was wondering if you could explain the technique of tiling in more detail?
i have juliette's painting atelier book, but she doesn't write much about this technique and there are no reference photos.
thanks so much!
regards lee
Hi Lee! Thanks for your question, unfortunately I can't describe tiling any better than I did in this post. I think the goal is to make distinct color and value choices, with small distinct strokes, that stack next to each other, working from the darks up towards the lights. This prevents over-blending and making the colors muddy.
However, I personally don't paint this way, and it was just one class I took 18 months ago, so that's all I can say about it!
Definitely a good exercise, though - I always recommend everyone try to paint a single white egg under one light source for practice, teaches you a LOT about painting.
THANKS Sadie.
I think I have an idea of what you mean.
:) lee